At-Home Therapies
Not only do we offer personalized, thoughtful, in office care, at East Boca Acupuncture, we thrive to provide you with several at-home therapies to help your body heal and feel more balanced on a daily basis.
Below is a list of at-home therapies along with a list of easy to print instructions.
**Please note, only use these therapies as advised by your acupuncturist.**
BOX BREATHING
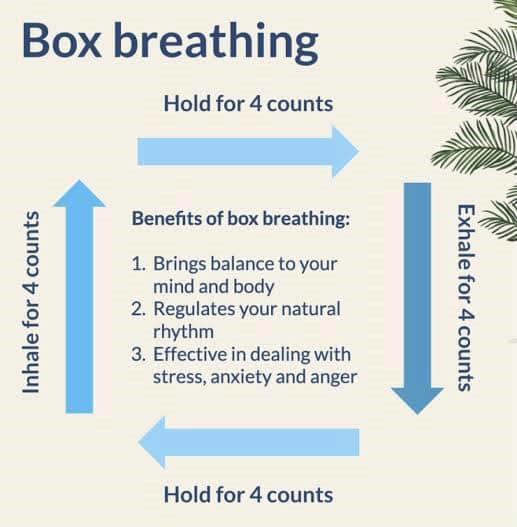
Aftercare Instructions for Box Breathing
This technique is not only helpful to promote deep breathing but can also be used to help manage stress and anxiety. It can help manage your heart rate and reset your body’s “fight or flight” mode.
-
Sit comfortably in a chair and close your eyes if you would like.
-
Breathe in through your nose while slowly counting to 4 paying attention to the feeling of your lungs filling with air.
-
Hold your breath for a slow count of 4, keeping your lungs filled.
-
Slowly exhale for a slow count of 4, you should not be breathing out with much effort or force.
-
Hold your breath for another slow count of 4 before initiating the next breath.
-
Repeat this cycle for 4-5 minutes.

VAGUS NERVE RESET
Aftercare Instructions for Vagus Nerve Reset
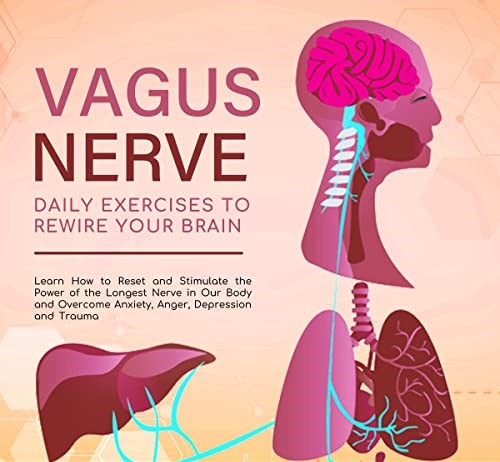
The vagus nerve connects the brain to all major organ systems. It carries the “will I live or die” signal throughout the body and in the field of psychology the most common response for the “fight/flight/freeze” survival response. Our vagus is working overtime these days, so it could use a little refresh. I have found these techniques to help improve sleep, fall back to sleep easier, and feel more grounded.
With head in a straightforward, neutral position:
-
Look to the right and hold eyes toward right until you naturally yawn or swallow.
-
Look to the left and hold eyes toward the left until you naturally yawn or swallow.
Tip: If you find your head wanting to turn with your eyes, clasp your hands behind your head at the base of the skull to stabilize.

CASTOR OIL PACK
Castor oil, when applied topically to the skin, has been shown to increase circulation and improve the elimination and healing of tissues and organs.
It is very supportive of the lymphatic system, which helps improve digestion, boost immune function, and reduce swelling and inflammation.
Castor Oil Benefits:
● General detoxification
● Supports a healthy flow for menstruation
● Relieves stagnation within the pelvis
● Stimulates the natural cleansing process of the tissues and releases toxins for their elimination
● Nourishes and strengthens the reproductive channels
● Intestinal disorders: constipation, loose stools, poor elimination
● Liver and gallbladder disorders: fatty liver disease, gallstones
● Lung congestion, asthma, bronchitis and during acute colds and flus
Frequency:
Castor oil packs can be used frequently, up to daily if needed. It is recommended that you begin with applying a castor oil pack for up to an hour.
Generally, when beginning castor oil packs for a chronic condition, begin with every second or third day. For acute conditions (colds and flus, bronchitis, constipation etc.), use daily or as recommended by your health care practitioner. Castor oil should not be used in pregnancy, during menstruation, or if you have an IUD.
It is normally recommended that the minimum use should be for an hour each day – for three consecutive days in a week – this frequency and duration may often be exceeded in order to bring better and faster relief. If you know or believe you have a high toxic load, then every other day would be better to start with.
The most common side effect is a rash that may occur at the site of the pack. This typically usually only occurs during the first few applications of the pack and may be relieved by using the baking soda wash. Rashes and other reactions are rare, and if they occur, they usually indicate that the elimination of toxins is sluggish, and the pack should be used on alternate days for the first week of use.
Call East Boca Acupuncture if you experience any side effects before continuing.


Traditional Castor Oil Pack Materials Needed:
● Castor Oil – preferably cold-pressed or expeller-pressed, and hexane free.
● Flannel cloth – wool flannel is preferred, although cotton may be substituted in the case of wool allergy
● Caster Oil Pack Holder – or plastic wrap (you can wrap the pack with saran wrap around you to hold it in place and keep everything in place. Castor Oil STAINS!)
● Hot Water Bottle or heating pad
The Technique:
-
Get your piece of cotton or unbleached wool and pour castor oil onto the fabric until the fabric is saturated with the oil. (Pro-Tip: Put fabric in ziploc and pour castor oil in so you can saturate it without making a mess. It STAINS!)
-
Lying on your back with your head supported and an old towel underneath you, place the fabric over the lower abdominal area, liver, or other areas you are working on. If you are working the reproductive area, make sure you are covering the top part of the pubic bone up to the naval.
-
Cover the fabric with plastic (a plastic bag or plastic wrap). [Pro-Tip: Saran wrap is a great way to keep everything clean and contained].
-
Place a hot water bottle or electric heating pad (set on low–medium) on top of the plastic layer and allow the castor oil pack to remain in place for approximately one hour. Use this time for self-care. Ideally, you will do something restful like: reading, listening to soothing music, a guided meditation on YouTube, or sleep.
-
Remove the castor oil pack. Gently massage your lower abdomen (just above your pubic bone) in small, clockwise, circular motions.
-
Clean off. You can use baking soda in the shower to help get the oil off if you’re having trouble.
-
Repeat as directed.
HOME MOXIBUSTION THERAPY INSTRUCTIONS
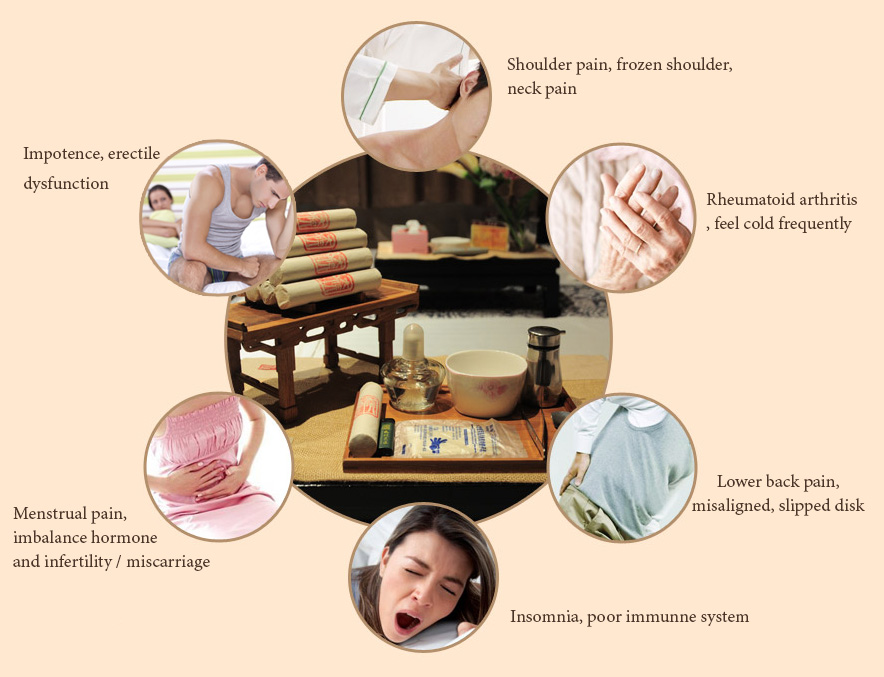
Moxibustion is made from the leaves of the mugwort plant (Artemisia Vulgaris or Artemisia Argyi) and may be used to stimulate or warm certain acupuncture points. It does this by emitting a deep, penetrating heat as it burns.
Before using moxa, you will need to prepare the following:
● A lighter or candle
● Ashtray or a place to discard ash
*For those with long hair: if you don’t wash your hair daily, you may want to put your hair in a shower cap or ball cap or do this on days. If you plan to wash your hair because it can leave a smoky smell like a bonfire.

Home Moxibustion – Instructions
– Stimulate only the specific, acupuncture points which have been selected for you by your acupuncturist based on your current condition.
– Do not perform moxibustion if you feel sick or have a fever.
– Exercise caution when performing home-moxibustion as the hot ash has the potential to burn you, pick a safe area preferably over a hard floor, free from carpet.
*Please call East Boca Acupuncture if you have any further questions or concerns about the moxibustion procedure before attempting.
Treatment Frequency
● 2-3 times/week at the beginning of or when restarting a course of treatment, but may be
safely used every day if desired
● 1-2 times/week for general strengthening of body systems and longevity effects
Moxa Stick – Procedure
1.) Make sure you do this outside because moxa it’s very smoky and smelly and will permeate fabrics and will stay for a while.
2.) Ignite moxa stick fully around one end using a lighter or a candle as it may take 20 seconds or so.
3.) Blow lightly around the end of the stick to be sure that it is well lit.
4.) Hold stick approx. 1 inch above the point to be warmed; you might find it helpful to use your hand to balance against the area to maintain an even distance so that there is never any direct contact with the skin.
5.) Direct the stick towards the point until a strong heat is felt – then, slightly circle around the area or move up and down along it, adjusting the speed & distance to maintain a steady, but comfortable warming sensation. Continue for 1-2 minutes for each point. The skin around the area will often become noticeably red.
6.) After each point, be sure to tap off any loose ash into the container before proceeding to the next area. If you suspect that there is no longer any heat coming off the moxa stick, check by holding it 1 inch away from the back of your hand. Re-light if there is no radiating warmth. Never touch the lighted end of a moxa stick even if it no longer appears to be glowing.
7.) When finished, gently snuff out the moxa stick in the container by burying the tip in the sand or rice. Leave it there for at least 10 minutes to make sure it’s completely out. (With shorter sticks, another option is to place it into a glass jar lined with dry rice. When the lid is screwed on firmly, the moxa is deprived of oxygen and cannot continue to burn.) The moxa stick may then be re-lit for repeated treatments according to the instructions your received from your
acupuncturist.
*Please be careful not to allow the moxa to touch your skin and/or allow ash to fall on you.*
